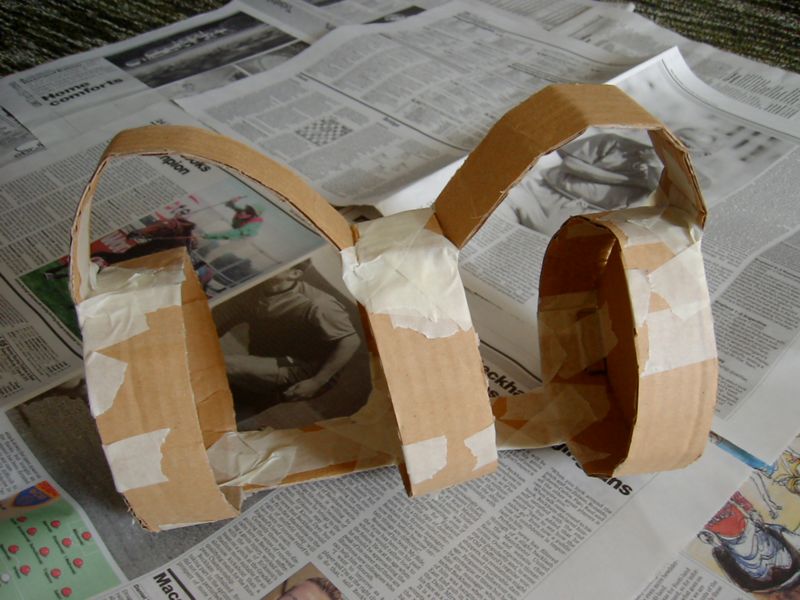
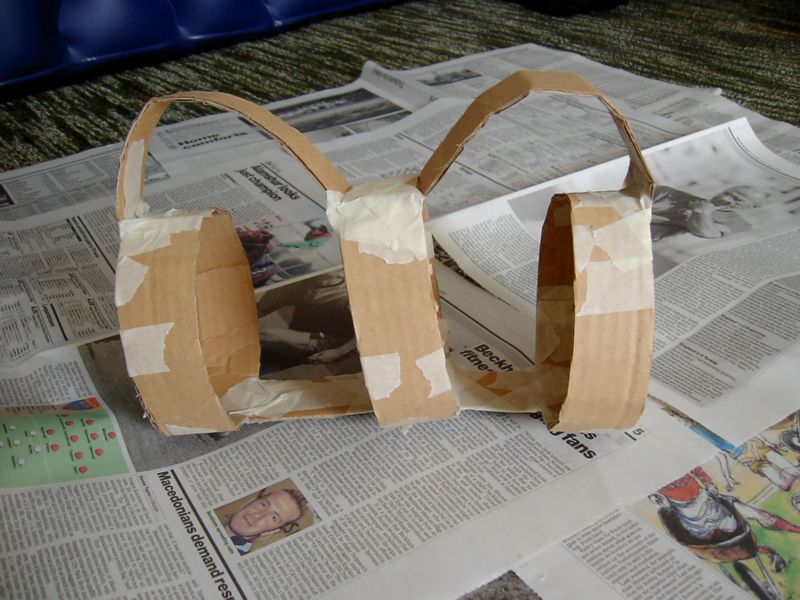
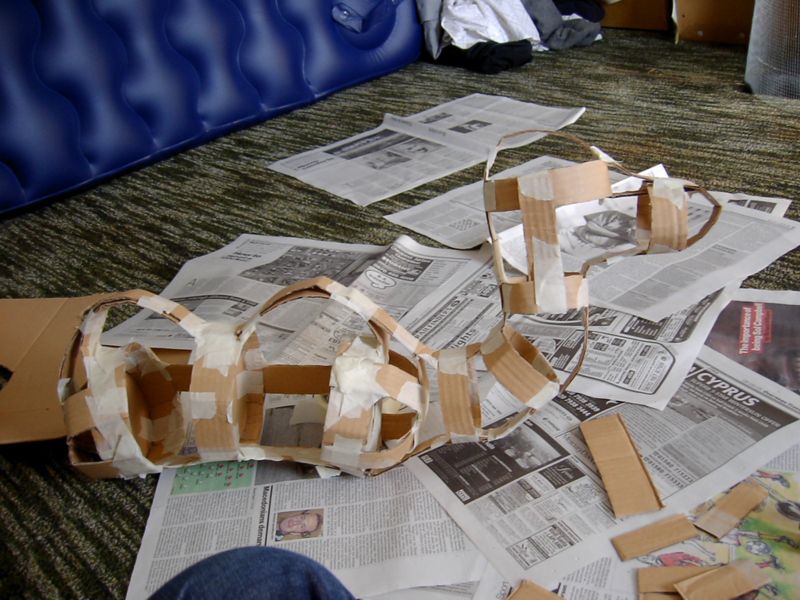
Here's the first bit of the frame I made. I started with just three strips of cardboard, each of which I turned into a ring and then put a circle of card in the middle of each in the middle of to strengthen. These three rings were then joined together, with a straight strip on the bottom, and two bent strips on top - the first inckling of humps.
A slightly different angle, highlighting the fact that the middle ring isn't straight. This didn't seem to matter a great deal.
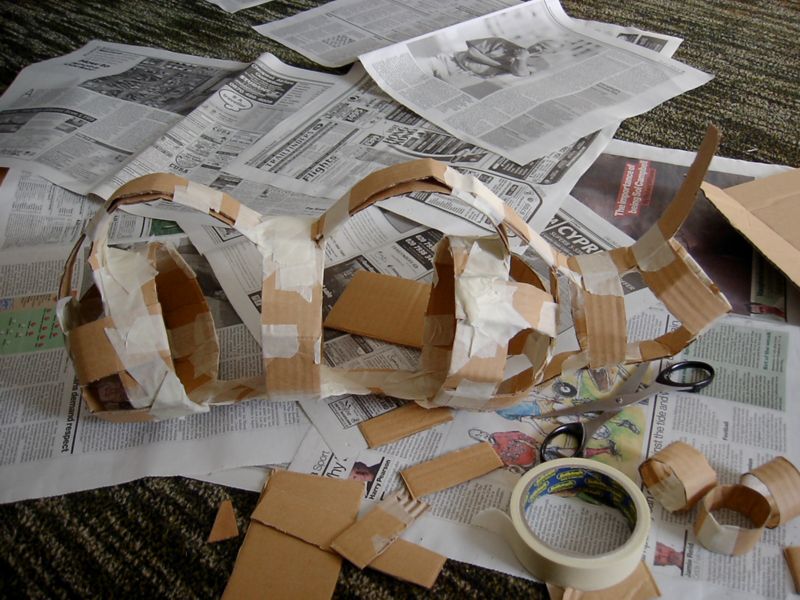
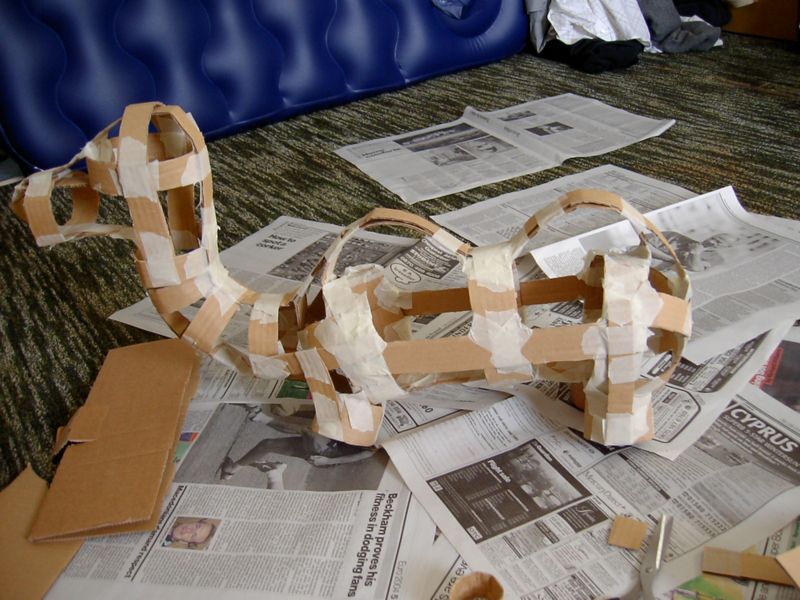
From here I then put a couple of criss-crossed strips on either end to round it off, and started to build the neck. Worried that the neck/head when built might eventually fall off, I was careful to use long strips to connect the neck with the backbone.
Look at those scissors being left dangerously open there.
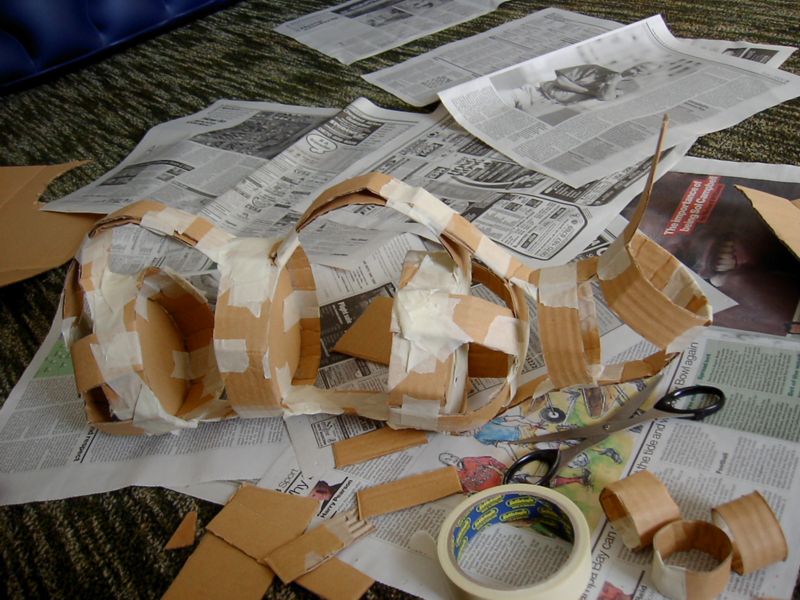
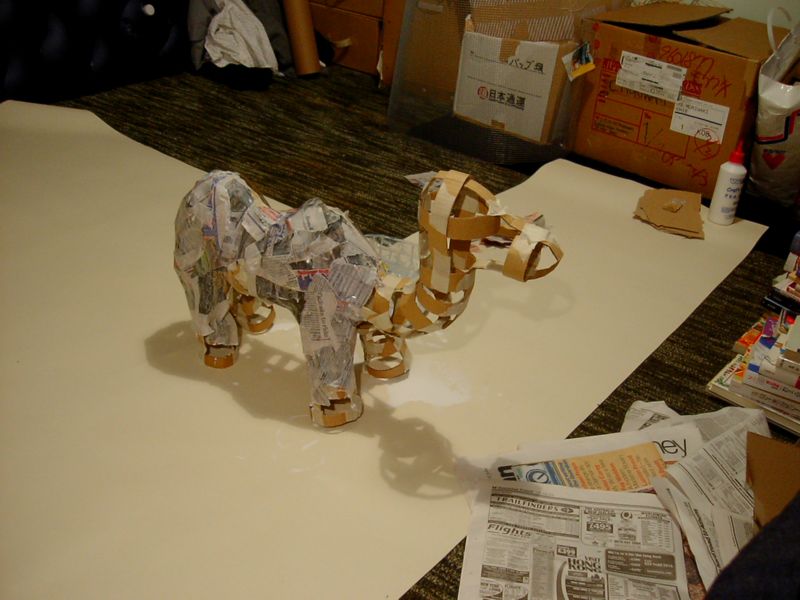
Here's the framework for the head. I kept this pretty simple, as I knew it would need to be light, or it would exert a lot of pressure on the neck. At this stage the frame has a hint of Loch Ness monster about it, don't you think?
The next job was to start putting on the legs. These were quite difficult actually - they didn't have quite as good a joint as the neck did with the body, so it was a bit harder to get these first bits of the legs to stay on.
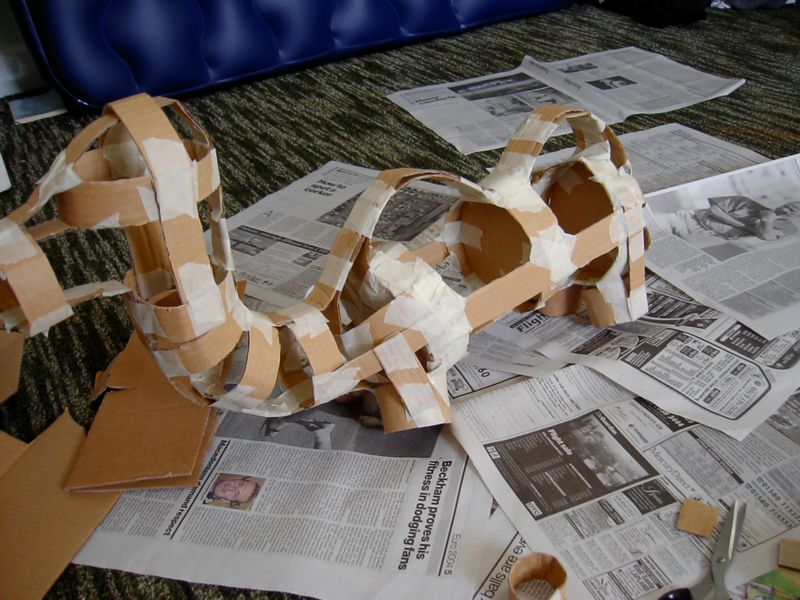

A view from a different angle, which possibly may help you to appreciate the fine craftsmanship on the neck there.
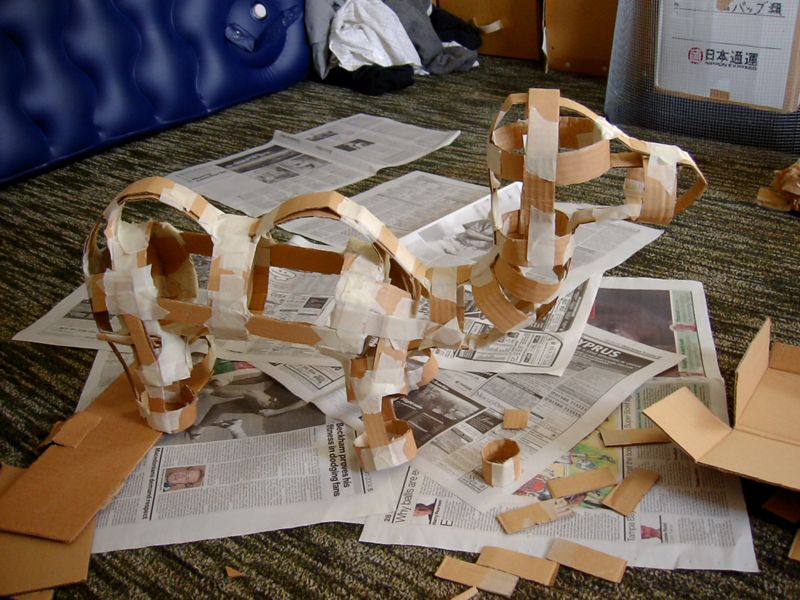
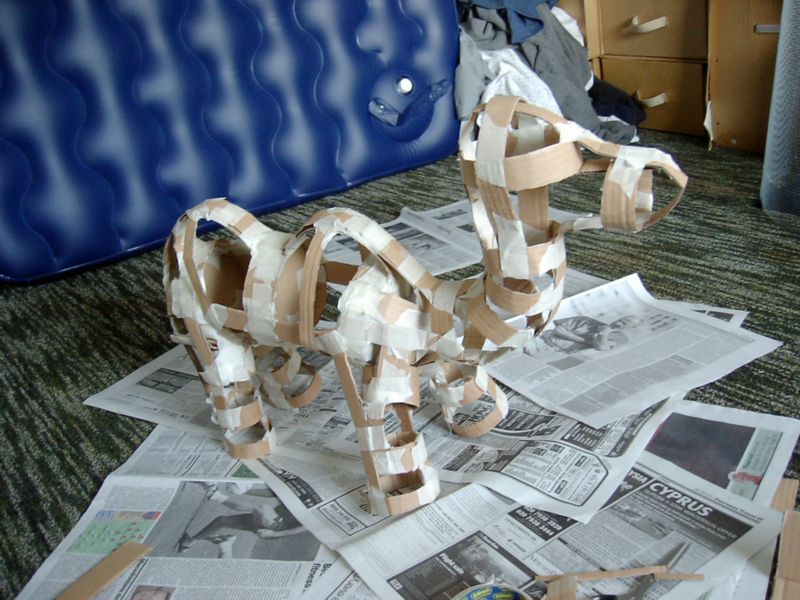
The next section of the legs. I'd also started to add extra struts to keep the legs in place at this point. This process was surprisingly organic - many of the struts ended up, without any real though, in the same places as tendons and ligaments on real mammals.
Last bit of the legs done, and the basic framework is now complete. These last four rings on the legs were slightly larger than the others, to make it look a bit like feet.

The frame from the front. At this stage it didn't really stand up too well - one set of feet were flat to the floor, and the other were at an angle. Luckily though this situation improved when the papier mache went on later.
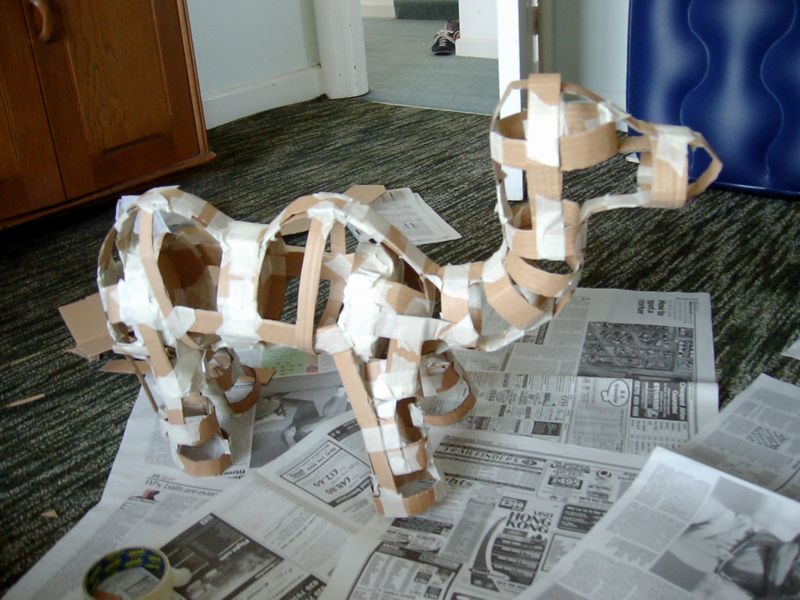
Here I was adding on a few more strips for extra strength, and to fill in the gaps. You can see a sort of ribcage forming here.
...plus I also added more supports to the legs, to make them a bit more sturdy.
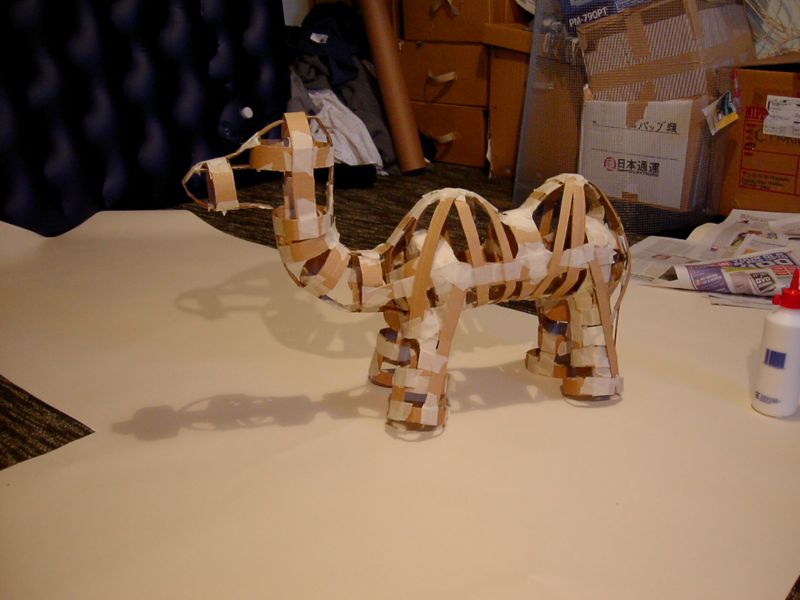
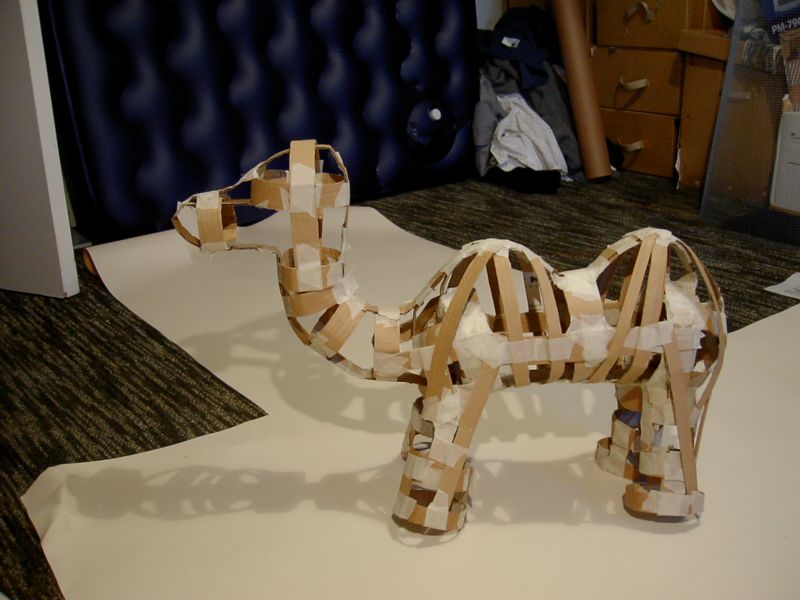
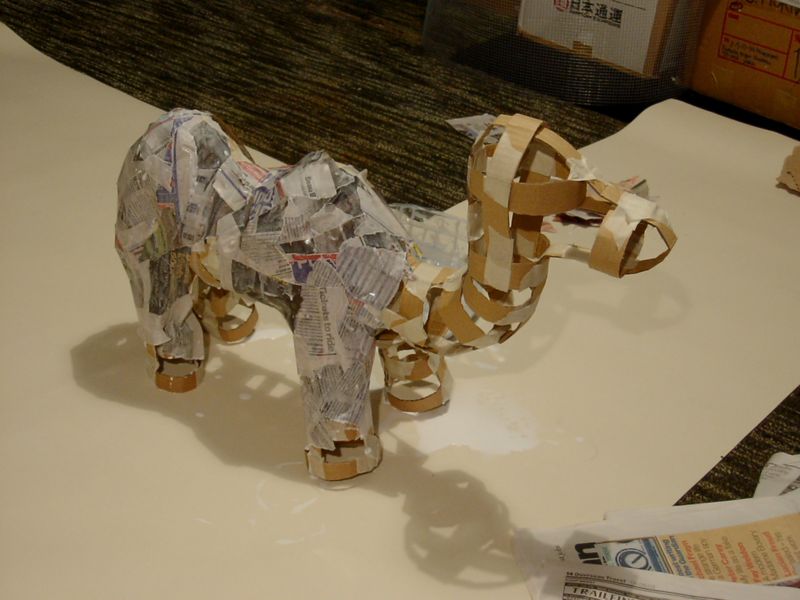
Here's the finished frame, ready for the papier mache phase of construction.
I like the way the shadows of the skeleton fall on the mat here.
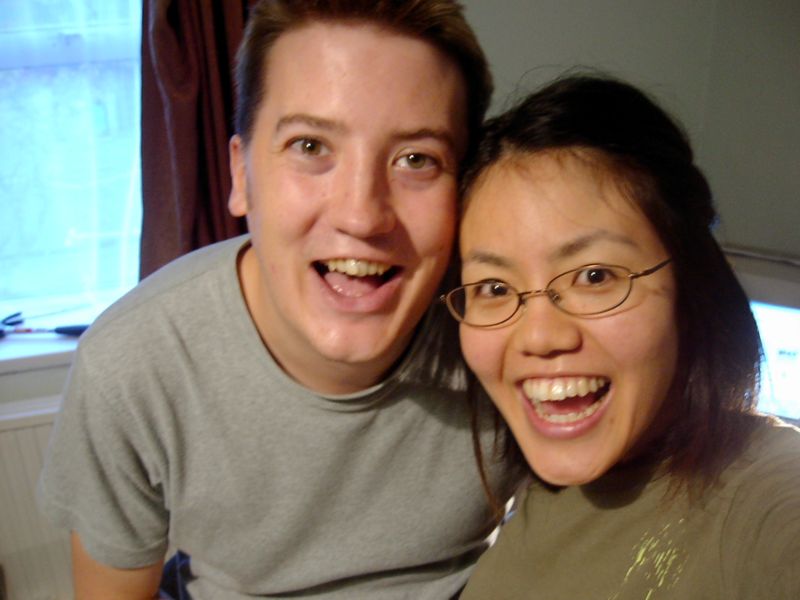
The team.
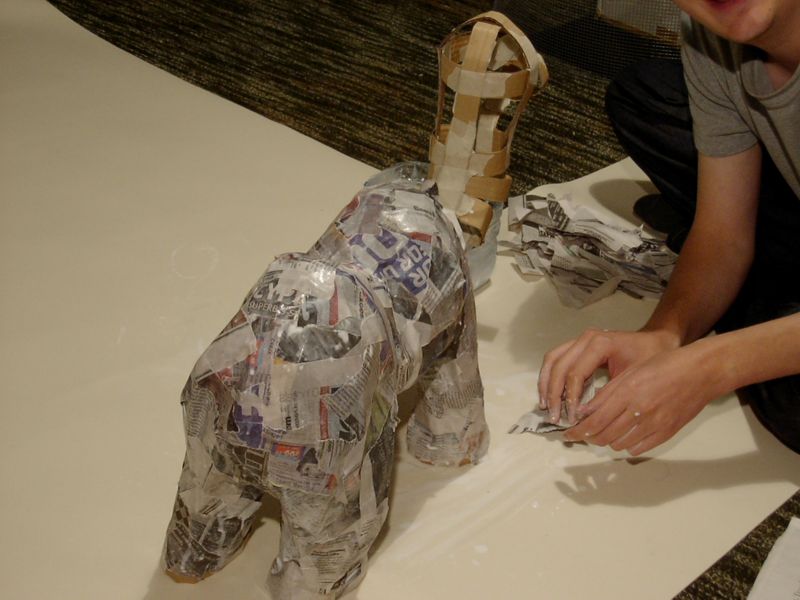
The papier mache work has begun.
It was a bit touch and go to start with - the moisture soaked through into the cardboard and made some bits sag - I was a bit worried the whole thing would end up in a big heap on the floor.
Almost finished the first layer of papier mache, except for the neck and head now.
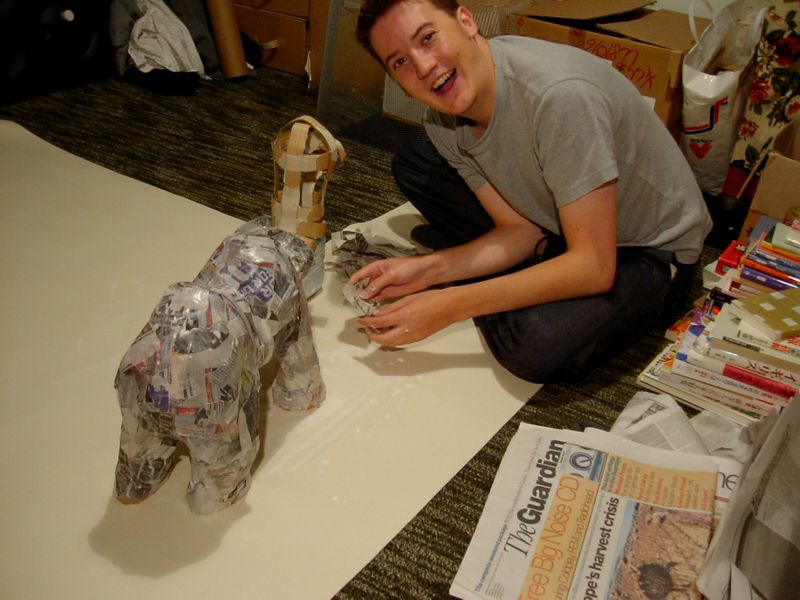
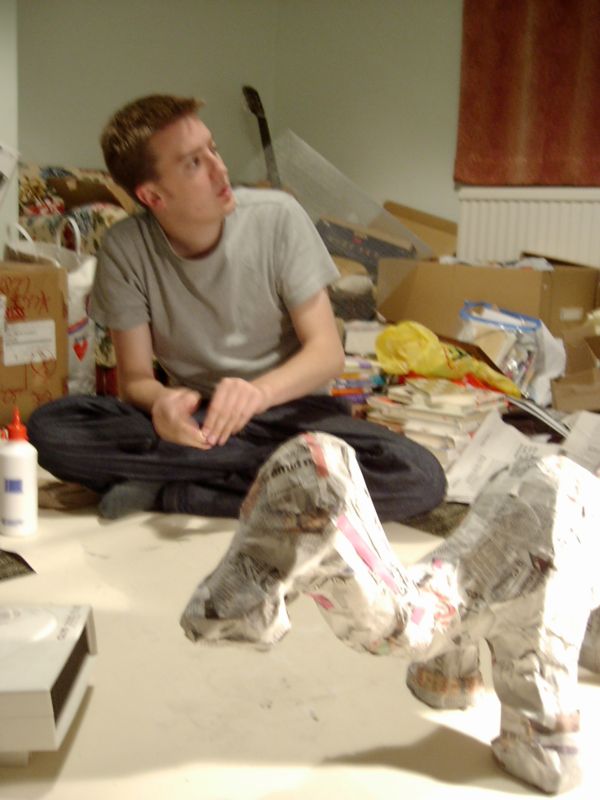
Here's me clearly enjoying myself.
Looks like the first layer is all done. Not sure if I got the ratio of glue to water right - I think there was probably too much glue in the first layer. Maybe this was a good thing, as it ensured a good bond between the paper and the cardboard.
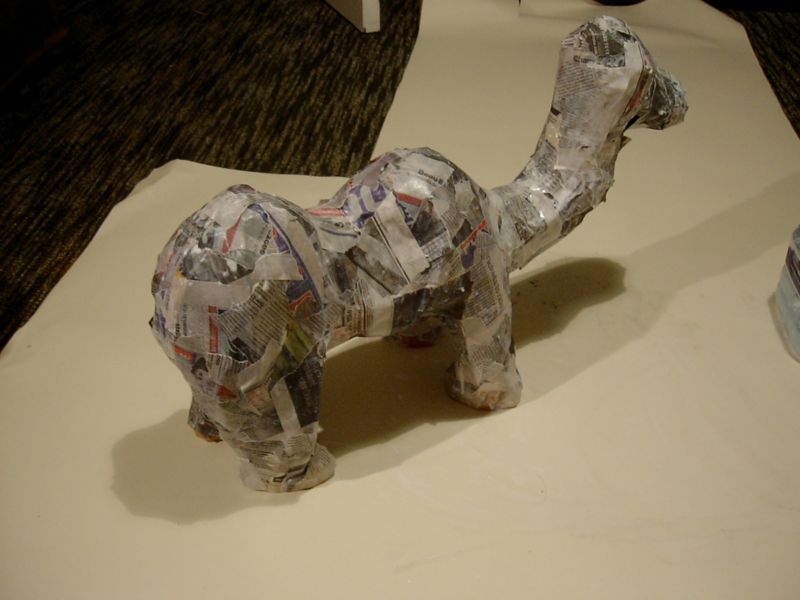
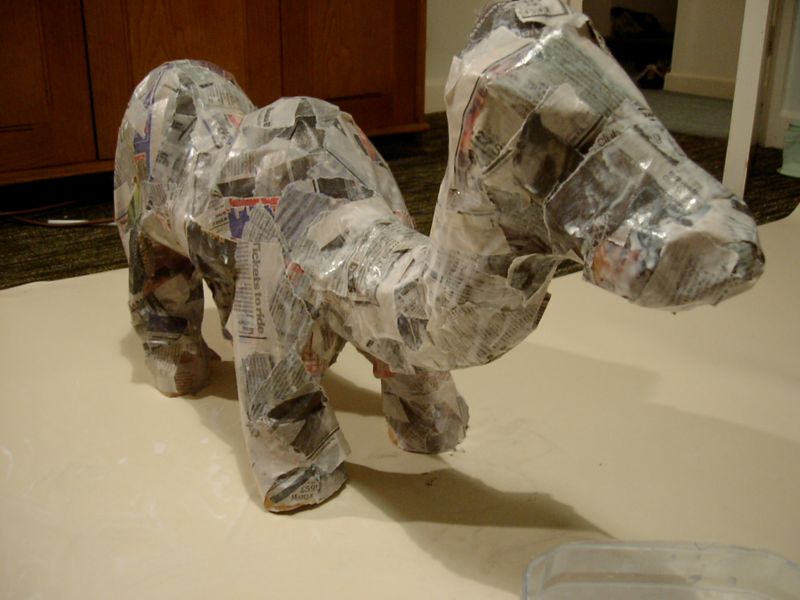
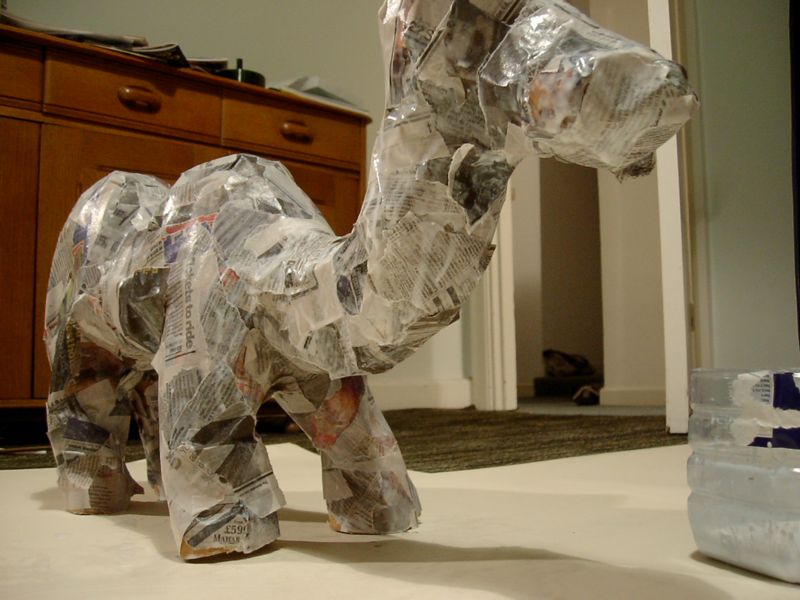
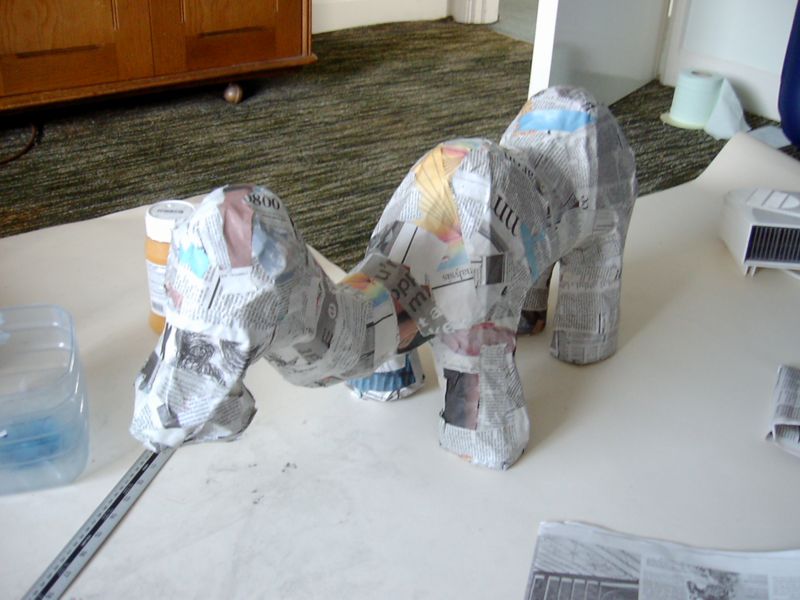
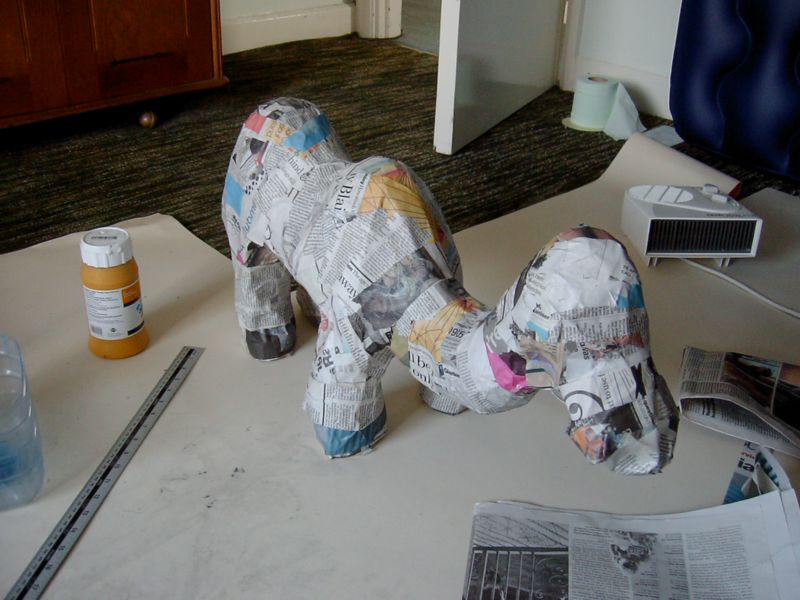
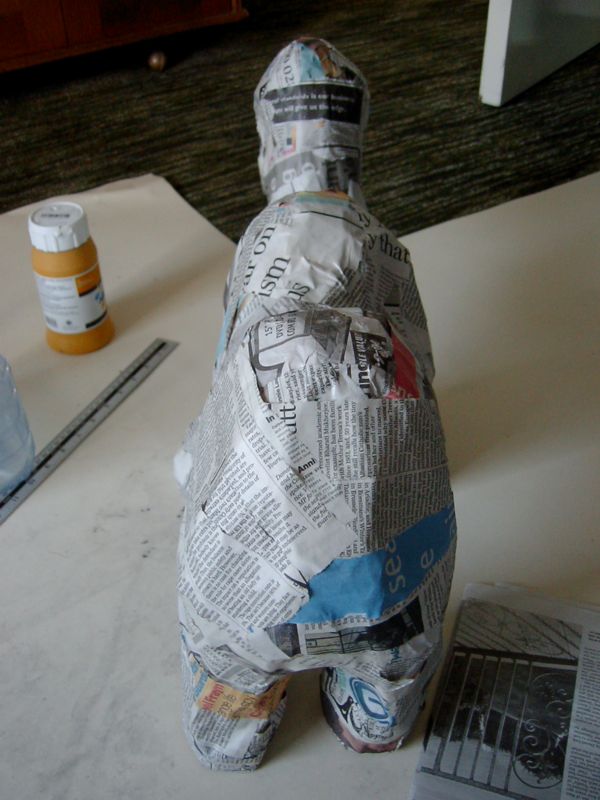
Here a nice shot, more like head on, which gives a good sense of the shape.
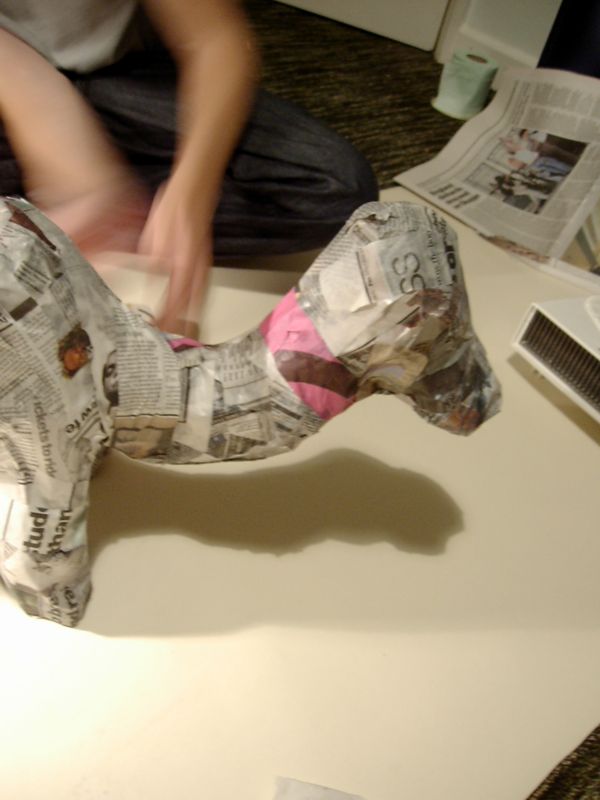
A shot from underneath, in which the camel looks a bit more like a dinosaur.
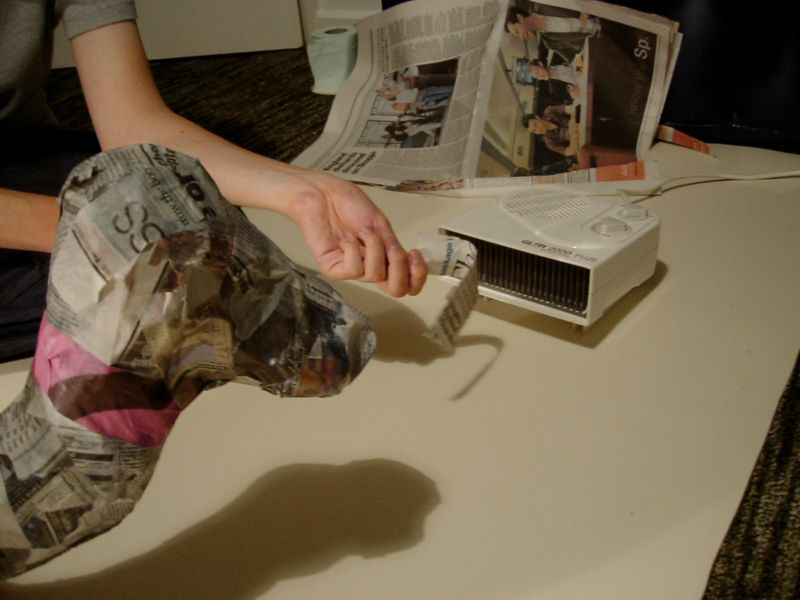
We used the fan heater to speed up the drying process, which probably meant we inhaled lots of toxic fumes. Ho, hum.
The weight of the paper, water, glue and everything else had made the neck sag a little bit, so the head was lower down than I originally intended. The result actually looked fairly natural though - perhaps the camel was bending down to drink or something.
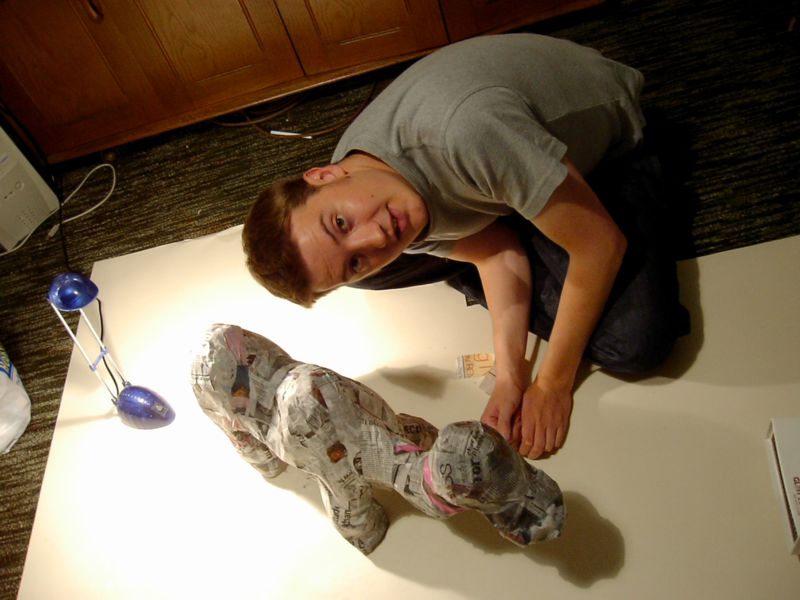
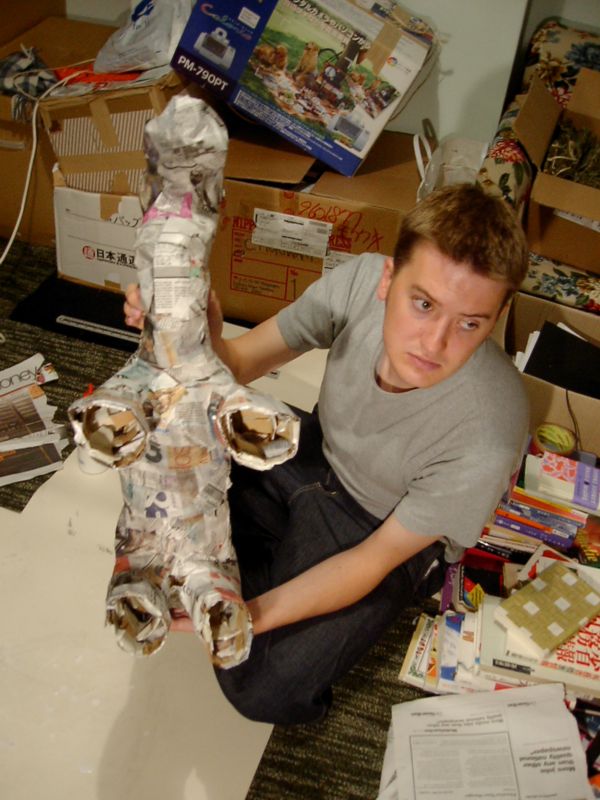
Me and the camel.
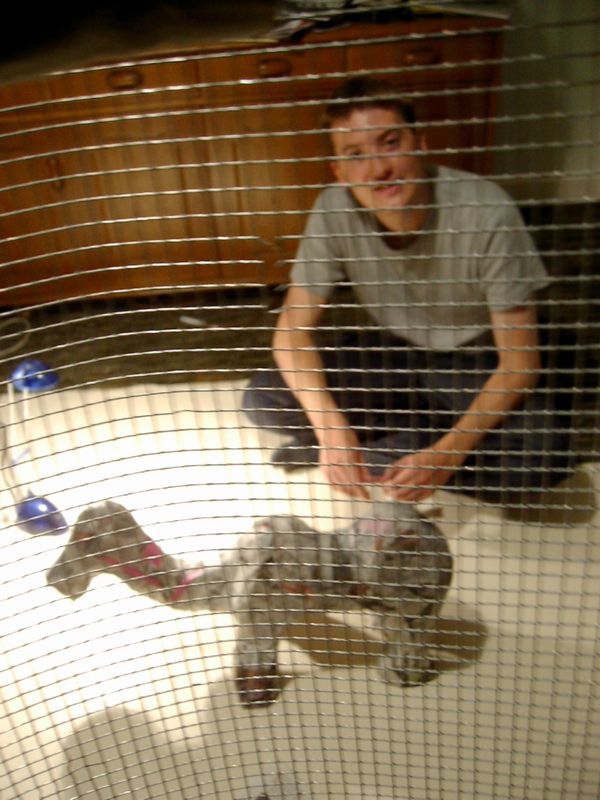
Me and the camel as seen through a wire mesh. I was originally going to use this to construct the frame, but then thought it would be too awkward, and possibly a bit dangerous.
The camel from underneath.
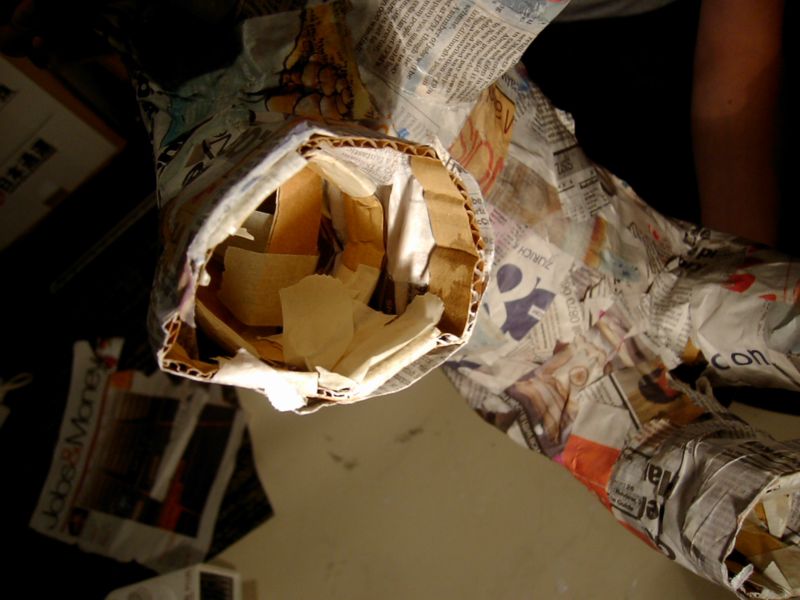
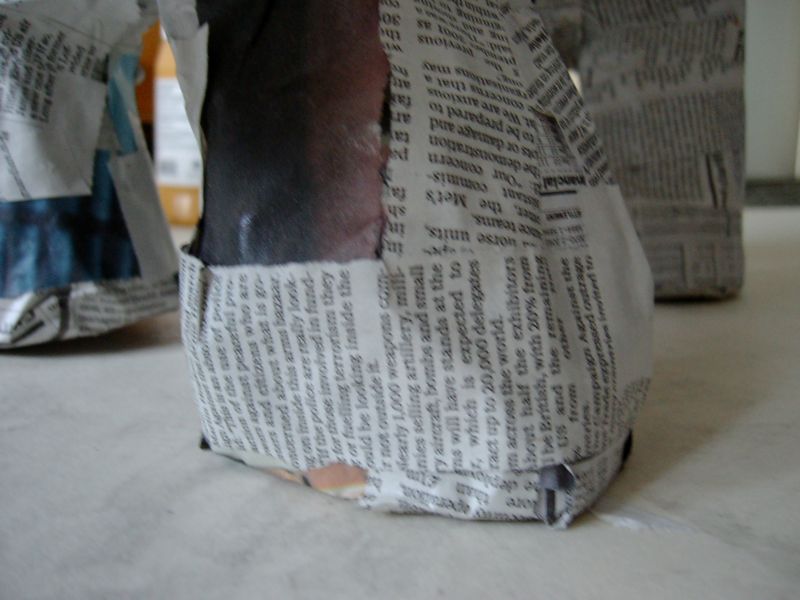
A view inside one of the camel's legs. To begin with, we left the bottoms of the feet open. However, later on following a brief strategy meeting we decided it best to cover them over.
An odd shot of me in the background, whilst the camel is warming its nose in front of the fan heater.
The next morning, I came to check on the camel after leaving it to dry overnight. We'd given it about four coatings in the end.
By morning it was pleasingly dry, and rigid.
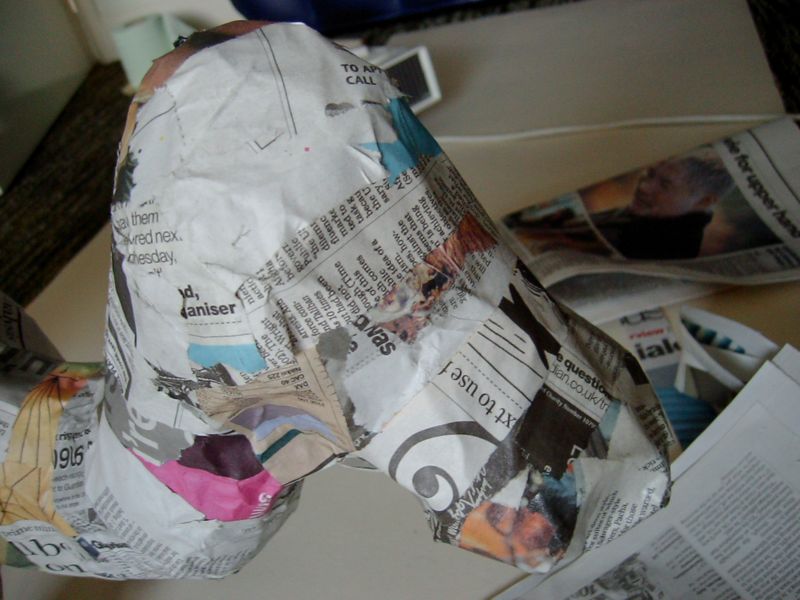
A close-up of the side of its head.
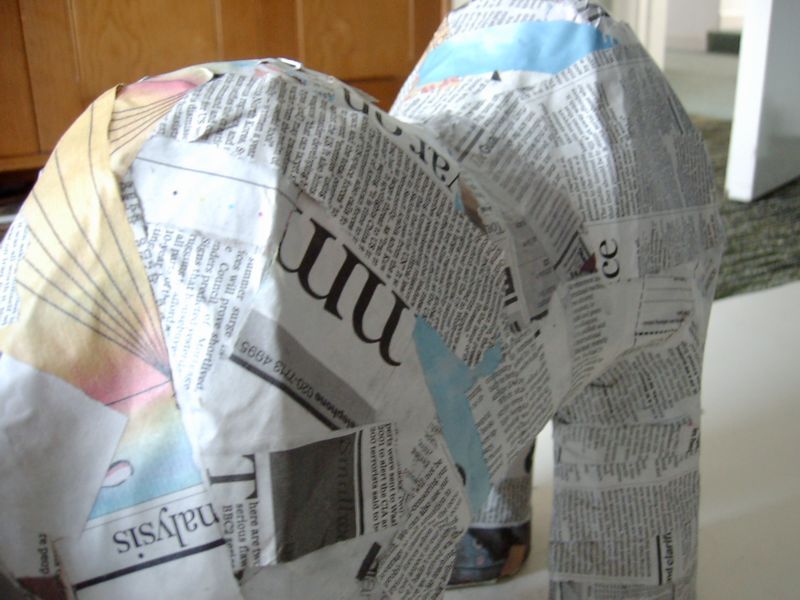
Those humps.
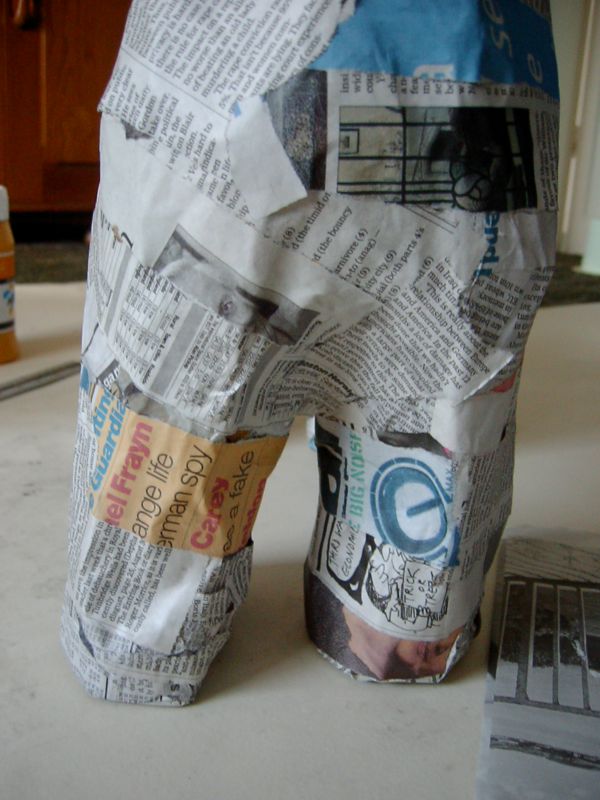
The legs.
Its hind quarters.
And finally an overhead shot from behind.